
This article delves into the effective setup, usage, and troubleshooting of the ATOM™ Encoder Diagnostic Kit. It serves as a comprehensive guide, providing detailed steps for each phase, including:
By following these guidelines, users can significantly enhance their encoding mechanisms and maintain optimal performance. The relevance of this kit in clinical research cannot be overstated, as it addresses key challenges faced by professionals in the Medtech landscape. Through a systematic approach, the article underscores the importance of mastering this tool to ensure reliability and efficiency in encoding processes.
The ATOM™ Encoder Diagnostic Kit serves as a crucial instrument in the field of transmission technology, providing engineers and technicians with unparalleled insights into encoding mechanisms and signal quality. Mastering its setup, utilization, and troubleshooting techniques empowers users to significantly enhance system performance and operational integrity. Yet, the pursuit of optimal diagnostics often presents challenges—what common pitfalls can derail even the most seasoned professionals? This guide explores essential steps and strategies to navigate these complexities, ensuring seamless operation and effective troubleshooting of the ATOM™ Encoder Diagnostic Kit.
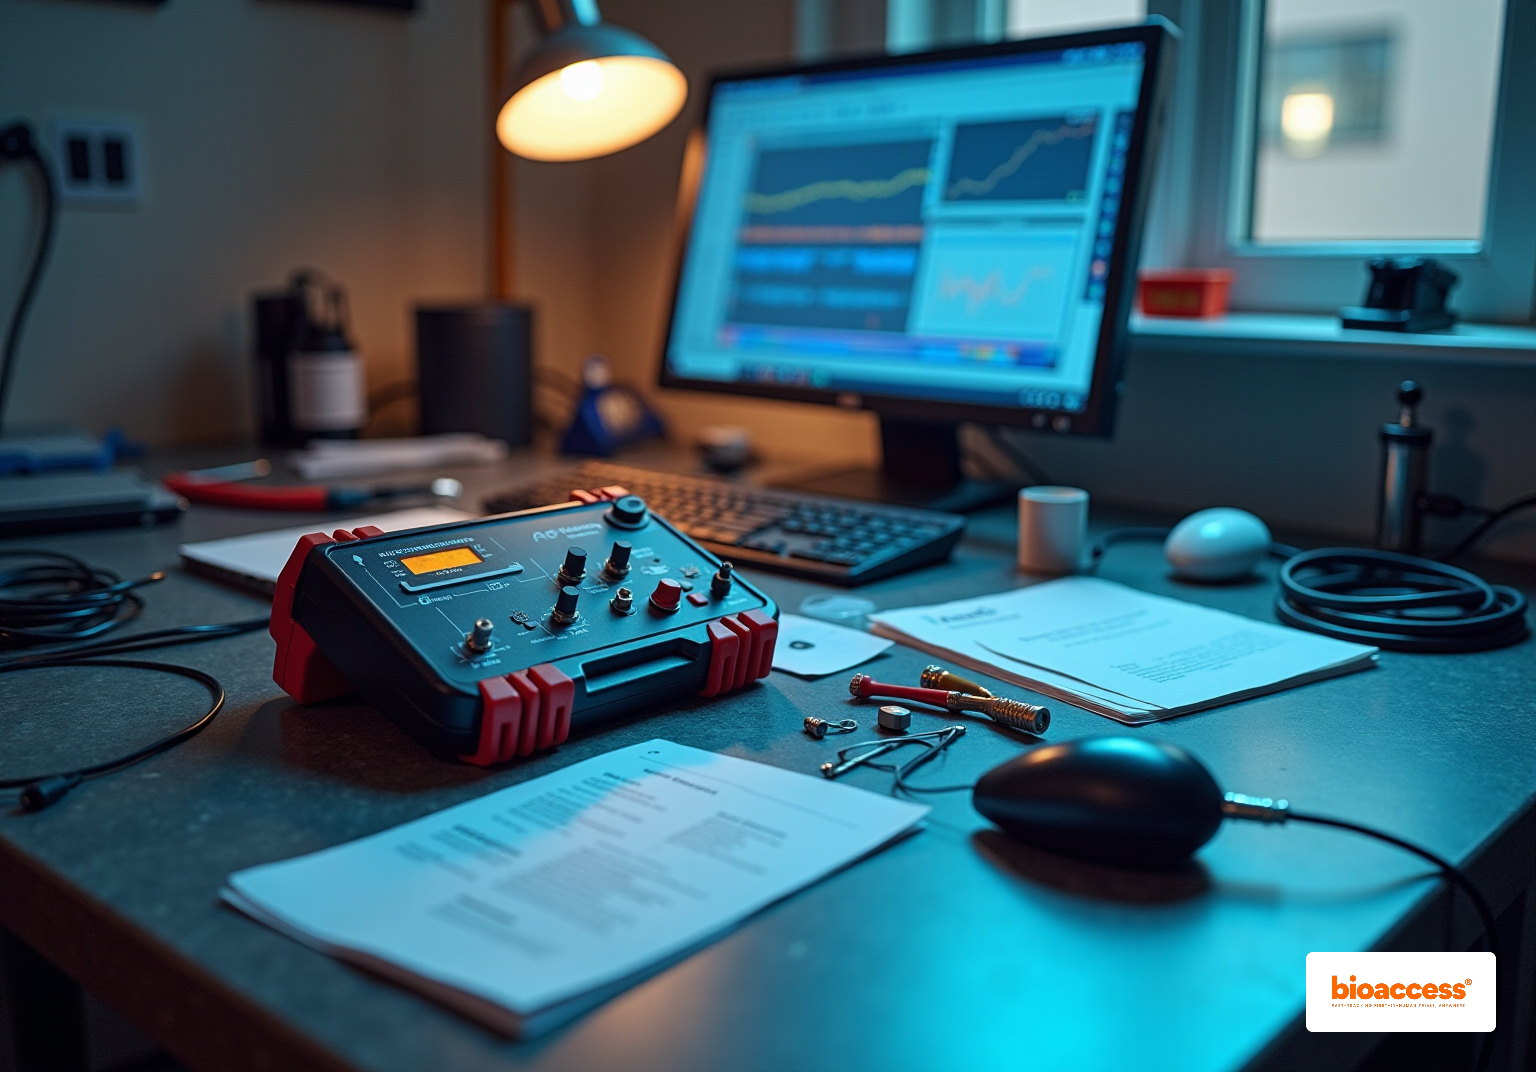
The ATOM™ Encoder diagnostic kit plays a crucial role in the setup and enhancement of encoding mechanisms, offering essential insights into performance and remote signal quality. This diagnostic kit is essential for engineers and technicians engaged in transmission technology, providing a comprehensive understanding of the tools necessary for effective diagnostics.
The diagnostic kit includes various elements such as:
All designed to facilitate the assessment process. Familiarizing yourself with these components will significantly enhance your ability to diagnose and refine encoding mechanisms with efficiency and precision.

To set up the ATOM™ Encoder Diagnostic Kit, adhere to the following steps:

To utilize the ATOM™ Encoder Diagnostic Kit for optimal results, adhere to the following guidelines:

When utilizing the diagnostic kit, ATOM™ Encoder, it's essential to be aware of some common issues that may arise. Here’s a structured approach to troubleshooting:

In conclusion, the ATOM™ Encoder Diagnostic Kit stands as an essential asset for engineers and technicians operating within the transmission technology domain. By mastering its setup, usage, and troubleshooting protocols, users can markedly elevate their encoding mechanisms, thereby ensuring optimal performance and reliability.
This article has delved into the critical components of the diagnostic kit, including troubleshooting applications, signal analysis tools, and user guides. The necessity of a meticulous setup process, regular assessments, and effective troubleshooting strategies has been underscored as vital for preserving the integrity of encoding systems. Moreover, comprehending how to evaluate signal quality and document findings empowers users to implement informed adjustments, ultimately leading to enhanced operational outcomes.
Given these insights, it is evident that the ATOM™ Encoder Diagnostic Kit transcends being merely a collection of tools; it is a crucial resource for attaining excellence in encoding diagnostics. By adopting the best practices delineated in this guide, users can proactively mitigate potential issues, optimize system performance, and guarantee a seamless diagnostic experience. Embracing these strategies will not only bolster individual proficiency but also significantly contribute to the overarching success of transmission technology initiatives.
What is the purpose of the ATOM™ Encoder Diagnostic Kit?
The ATOM™ Encoder Diagnostic Kit is designed to aid in the setup and enhancement of encoding mechanisms, providing insights into performance and remote signal quality.
Who can benefit from using the ATOM™ Encoder Diagnostic Kit?
Engineers and technicians engaged in transmission technology can benefit from this diagnostic kit as it offers a comprehensive understanding of effective diagnostic tools.
What components are included in the ATOM™ Encoder Diagnostic Kit?
The diagnostic kit includes troubleshooting applications, signal analysis tools, and user guides, all aimed at facilitating the assessment process.
How does the ATOM™ Encoder Diagnostic Kit enhance the diagnostic process?
Familiarizing oneself with the components of the kit significantly improves the ability to diagnose and refine encoding mechanisms with efficiency and precision.